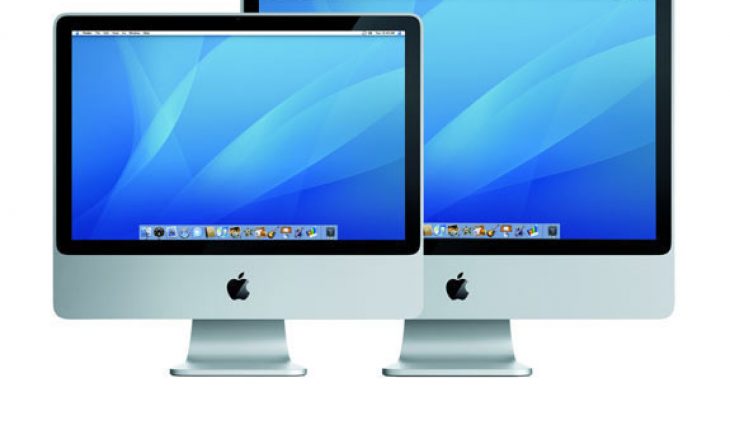
To start using a Mac effectively, you should read the user guide and help files. The following is an overview of the Mac. It should help you get familiar with its most salient features. Depending on the version you have, not all of these features may be present.
Exploring the Dock
The dock is situated at the bottom of the desktop. There you can see representations for applications and documents. You’ll also see the calendar and the garbage can. Use the dock to store the programs you use often. The Dock also provides quick access to the address book, iTunes, email and the Safari browser.
When you use a certain Mac application, it will appear in the Dock. When you close it, the icon disappears. You can also use the Dock to move back and forth between open programs.
The Mac Finder
The Finder is the Mac’s answer to the Windows Explorer. The left pane contains the folders. The right pane shows the contents of the selected folder. Like in Windows Explorer, double clicking a folder will reveal the contents.
The Applications and User Folder
The Applications folder is useful for finding the program you want to open. For Windows users, the Mac’s User folder is similar to My Documents. Type the name of the file you’re looking for in the Finder if you can’t find the file.
An Overview of the Menu Bar
Anyone using a Mac should get familiar with its menu bar. It’s located at the top of the screen. The menu has many functions. Note you can choose the text only if its black. If it’s grayed out the command isn’t accessible.
The available functions on the menu bar will change depending on what application you’re using. Take the time to study the program so you’ll know what commands will appear.
How to Close Applications
Click the red button on the active window’s upper left corner to close it. Note that closing the window doesn’t mean the application has shut down. To shut it, choose the Quit command. To minimize, click the yellow button. A quick way to close is to press Q and the Apple key on the keyboard.
Using a Mac from a PC
For this to work, both computers need to be on the same network. Start by installing virtual networking computing (VNC) in the PC. There are many free VNC applications on the Web you can download.
After installing it in the PC, open your Mac. Click the Apple icon. Go to System Preferences. Choose “sharing” from the menu. Put a check on the “Screen sharing” option.
Press the Computer Settings button. Remember the computer name specified. Type a password for the VNC program. Decide if access is for everyone or for specific users.
Go to the PC and start the VNC software. Enter the Mac computer name you noted down. Now you can use your PC to access your Mac files and apps.
If you’re moving from Windows, using a Mac will only take a bit of time getting used to. For new computer users, you won’t have problems with the learning curve.


